This guide provides instructions for connecting a Finotive Futures account to the ATAS platform.
Before launching the platform and connecting the account, you need to register here:
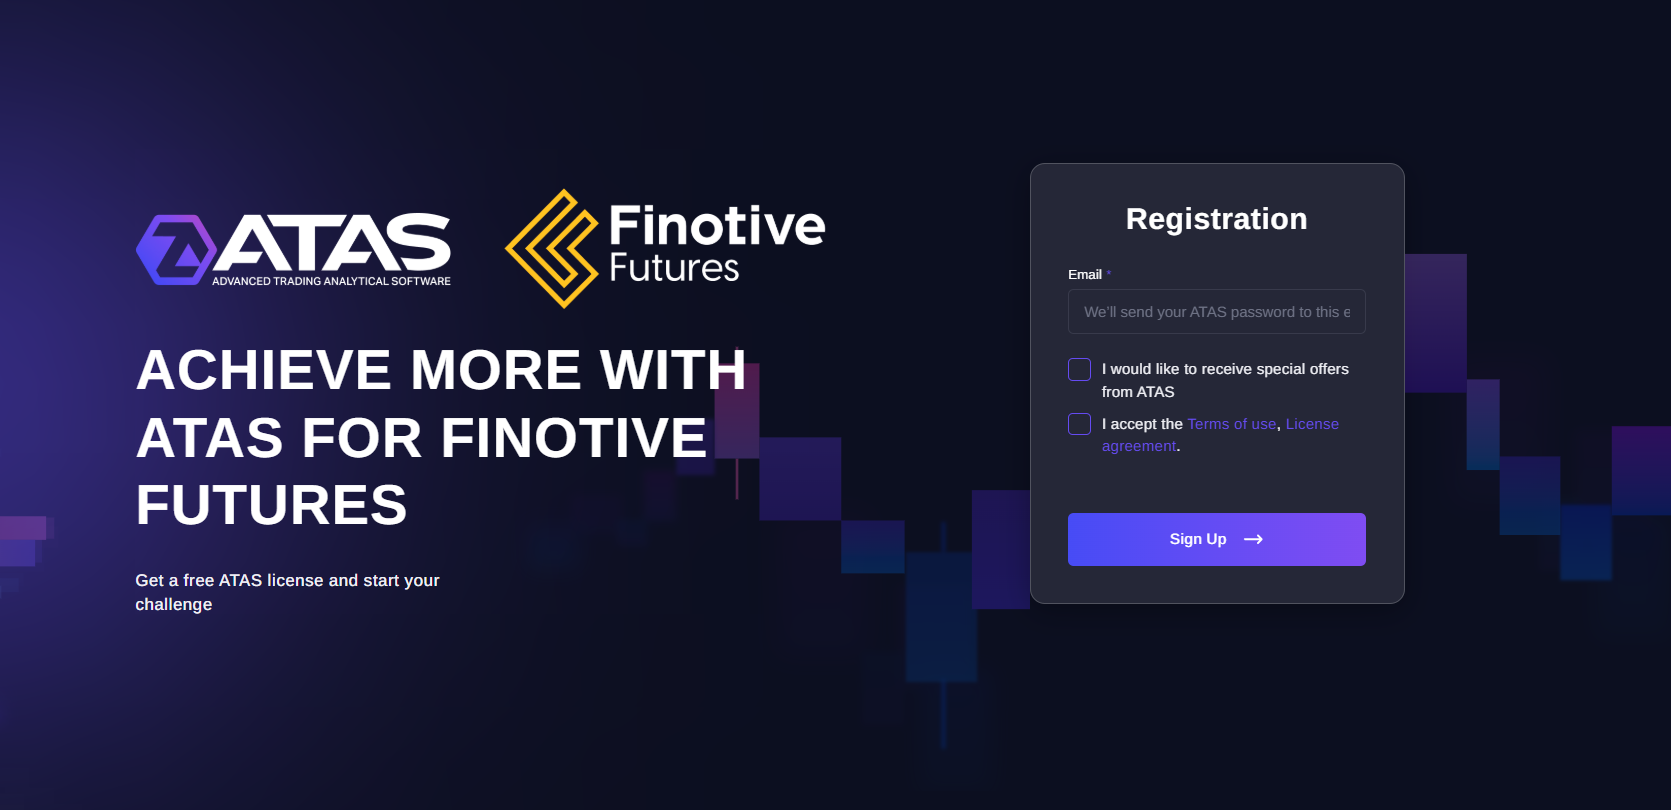
If you already have an ATAS account, use the same login credentials. If you don’t have an account and are signing up with a new email address, use the credentials you receive via email.
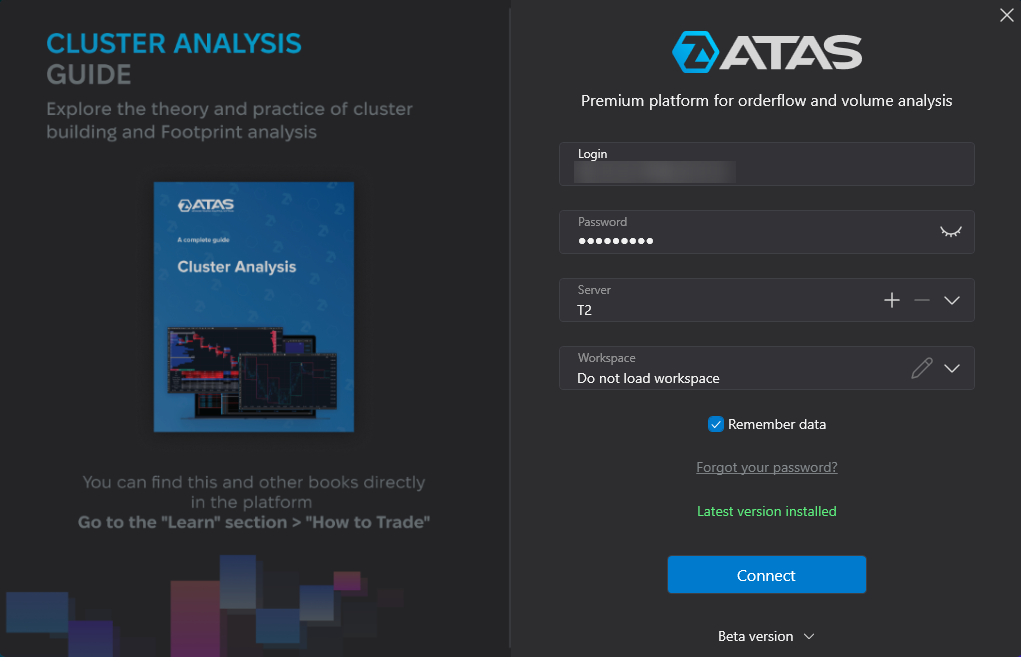
In the ATAS login menu, enter your username and password.
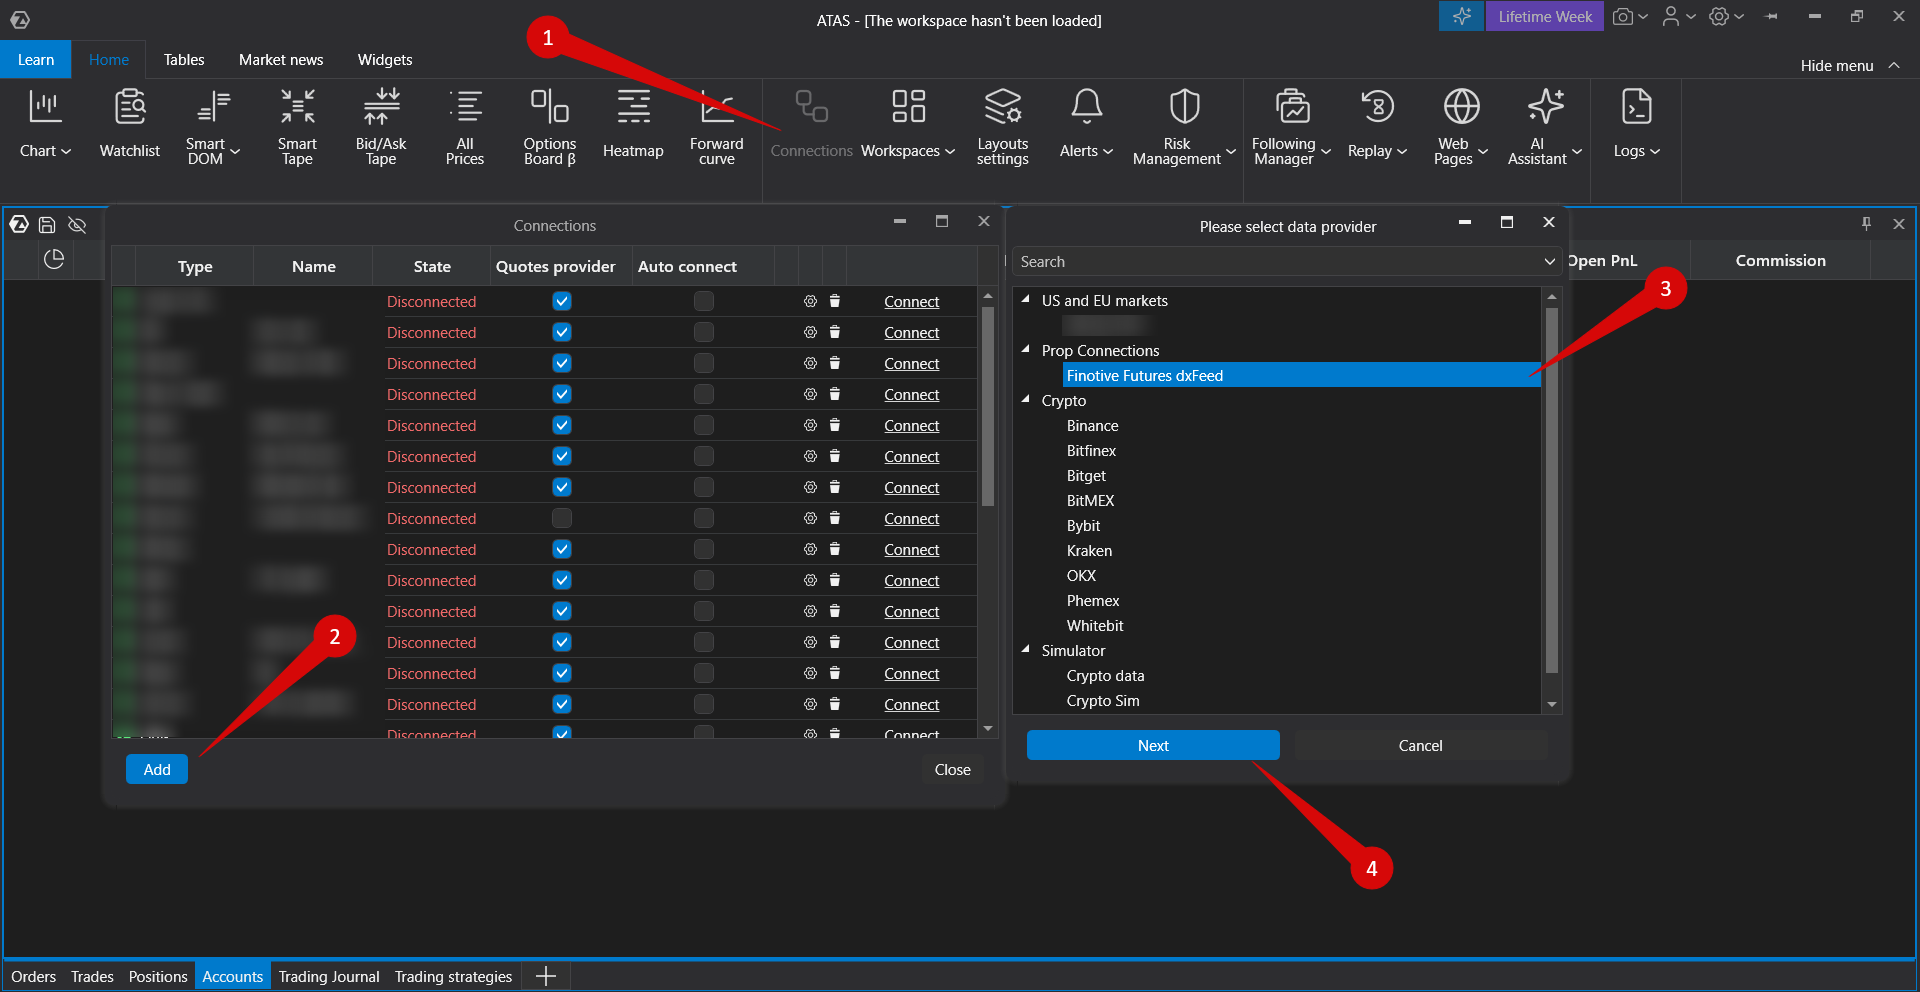
To connect the account, click Connections in the main platform window, then click Add. In the next window, select Finotive Futures dxFeed and click Next.
Enter the login and password for your Finotive Futures account.
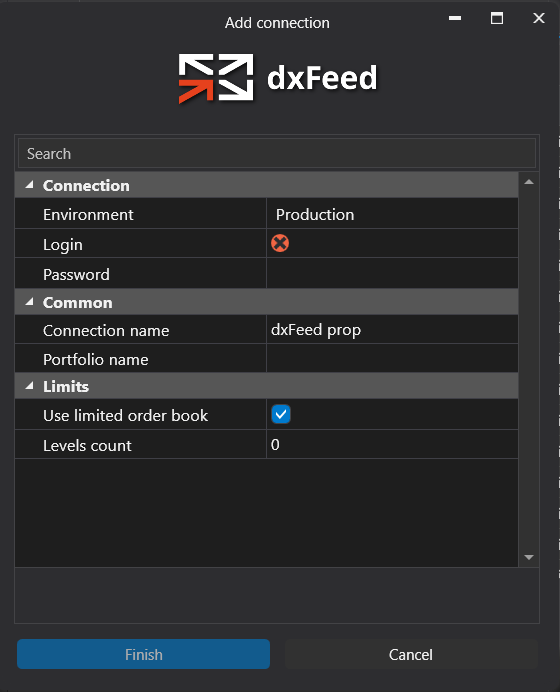 Environment — connection environment. Select Production for regular use; Staging is for testing.
Login — your trading account login.
Password — your trading account password.
Connection name — any convenient name for this connection in ATAS.
Portfolio name — any convenient name for this connection in ATAS.
Use limited order book — uses the limited dxFeed order book when supported. Recommended to keep enabled.
Levels count — maximum number of order book levels on each side.0displays all available levels.Click Finish.
After configuring the connection, it will appear as a separate line in the list of connections.
You can read more about the settings of this window here: Connection Settings Window.
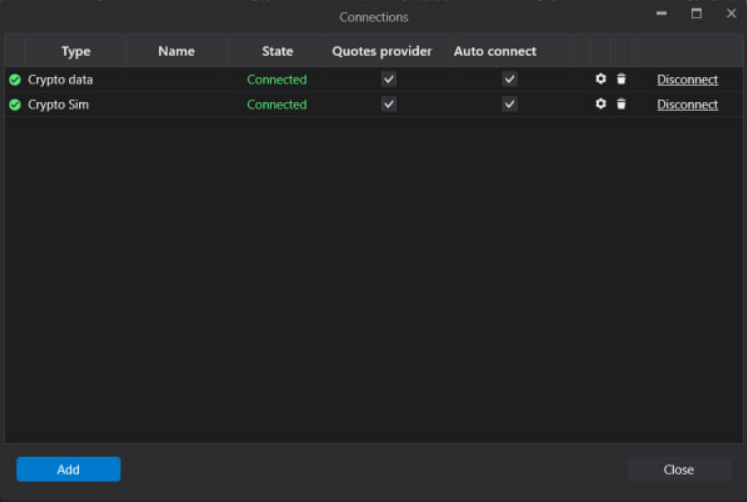
Connection Settings Overview
Add — add a new connection.
Type — connection source.
Name — the name of the connection, which you can set yourself.
State — connection status.
Is market data — option to choose a quote provider (this connection will be used as the quote provider).
Auto connect — enables automatic connection when the platform starts.
Connection settings button.
Delete — removes the connection from the list.
Connect/Disconnect — connects or disconnects the connector.
Was this article helpful?
That’s Great!
Thank you for your feedback
Sorry! We couldn't be helpful
Thank you for your feedback
Feedback sent
We appreciate your effort and will try to fix the article